
Drywall Repair Dewey-Humboldt
High-quality Sheetrock Repair Company in Dewey-Humboldt, Arizona
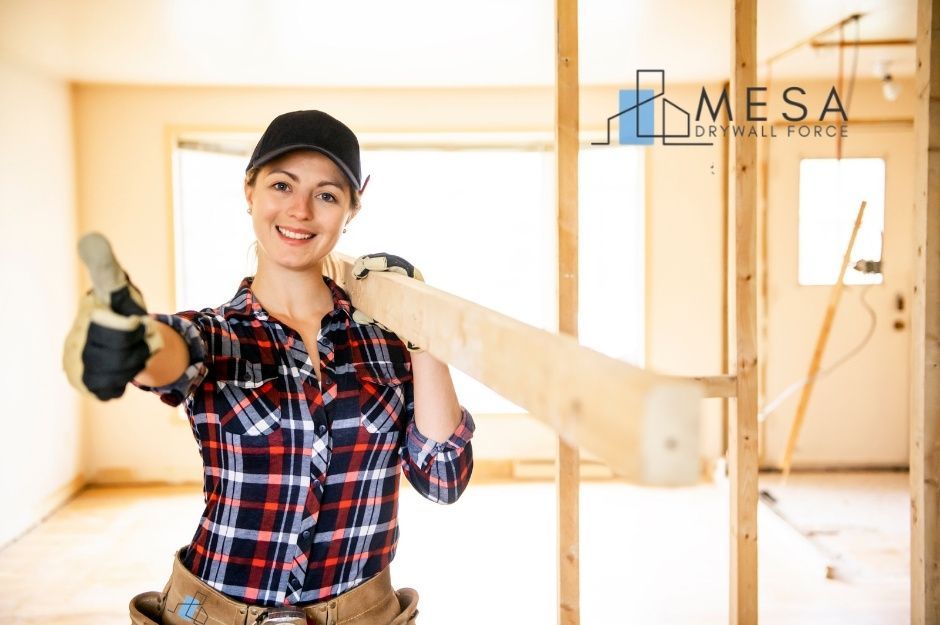
Drywall repair needs arise in every home, from small cracks to major water damage. Located in Yavapai County at an elevation of approximately 4,500 feet in the Agua Fria River Valley, local professionals like Mesa Drywall Force specialize in comprehensive drywall solutions, including patching holes, fixing ceiling issues, and addressing water damage with precision and expertise.

Mesa Drywall Force (CP)

When your drywall needs attention in Dewey-Humboldt, you can access skilled contractors who provide complete repair services covering everything from basic patches to full installations, with most professionals responding within 2-3 hours of your request. Given that Dewey-Humboldt was incorporated in 2004 from the merger of two historic mining towns - Dewey and Humboldt - many homes in the area date back to the early 1900s and require specialized repair techniques for older construction methods.
Your home's drywall serves as both a functional and aesthetic element, making professional repairs essential for maintaining your property's value and appearance. Local contractors offer specialized services for popcorn ceiling repairs, corner bead installation, joint fixes, and comprehensive water damage restoration, ensuring your walls and ceilings maintain their integrity and match your existing textures perfectly.
Comprehensive Drywall Repair Services in Dewey-Humboldt, AZ
Professional drywall repair services in Dewey-Humboldt address a wide range of damage types using specialized techniques and high-quality materials to restore walls and ceilings to their original condition. The town's high desert climate, with average annual precipitation of just 15.9 inches, creates unique challenges including seasonal temperature fluctuations that can cause drywall cracking and joint separation.
Patch a Hole in Drywall
Small holes from doorknobs or picture hangers require basic patching with joint compound and sanding. For holes under 6 inches, mesh tape and a drywall patch will provide adequate support.
Larger holes need a more extensive repair process. A new piece of drywall must be cut to fit the damaged area, secured with drywall screws, and taped along the seams.
For the smoothest finish, professionals apply multiple thin coats of joint compound, allowing each layer to dry completely before sanding. The final coat extends beyond the repair area to blend seamlessly with the surrounding wall. In Dewey-Humboldt's dry climate with average humidity levels of 35-40%, joint compound typically dries 20-30% faster than in more humid regions, requiring contractors to adjust their application timing accordingly.
Crack in Ceiling Solutions
Ceiling cracks often result from normal house settling or temperature changes. With Dewey-Humboldt experiencing temperature swings from winter lows of 28°F to summer highs of 91°F, thermal expansion and contraction are common causes of ceiling cracks in the area's 3,894 homes. Hairline cracks need proper cleaning before applying joint compound and reinforcement tape.
Common ceiling crack repairs include:
- Filling and taping straight cracks
- Reinforcing corner cracks with metal tape
- Addressing spider web cracks with elastic patching compounds
Multiple thin layers of compound ensure proper coverage and prevent future cracking. Professional sanders use special techniques to match existing ceiling textures.
Popcorn Ceiling Repair
Popcorn ceiling repairs require careful attention to match the original texture. The damaged area must be scraped clean and prepped with a primer before new material application. Many homes in Dewey-Humboldt's historic Dewey and Humboldt districts feature original popcorn ceilings from the 1970s and 1980s, requiring specialized asbestos testing before any repair work begins on homes built before 1980.
Repair process steps:
- Protect floors and walls
- Remove damaged texture
- Apply primer coat
- Mix matching texture material
- Spray new texture
The new texture must be blended carefully with existing areas to create a uniform appearance. Some sections may need complete retexturing to achieve the best results.
Water Damage Restoration
Water-damaged drywall requires immediate attention to prevent mold growth. The affected area must be completely dried and tested for moisture content before repairs begin. While Dewey-Humboldt receives minimal rainfall averaging only 0.4 inches in June, the area's monsoon season brings 2.7 inches of precipitation in August, often causing flash flooding and subsequent water damage to homes in low-lying areas near the Agua Fria River.
All damaged material needs removal, extending at least 12 inches beyond visible damage. New moisture-resistant drywall installation helps prevent future issues.
Professional restoration includes:
- Moisture testing
- Antimicrobial treatment
- Installation of water-resistant materials
- Complete sealing and texturing
Proper ventilation during repairs helps ensure complete drying and successful restoration.
Specialized Ceiling and Corner Repairs
Professional drywall repair techniques restore structural integrity and visual appeal to damaged ceilings and corners. Skilled contractors use specialized tools and materials to create seamless repairs that match existing textures. Dewey-Humboldt's location 15 miles east of Prescott means contractors often service both communities, bringing expertise from working on a diverse range of home styles from historic mining cottages to modern ranch homes.
Ceiling Repair and Restoration
Ceiling repairs address common issues like cracks, nail pops, and water damage stains. You'll need to identify the underlying cause - often water leaks or structural movement - before starting repairs. In Dewey-Humboldt's older homes, particularly those in the original Humboldt townsite established in 1905, settling foundation issues are a primary cause of ceiling damage.
Popcorn ceiling repairs require careful matching of existing texture patterns. Contractors use specialized spray equipment to blend new texture with the surrounding area.
For smooth ceilings, professionals apply multiple thin coats of joint compound, sanding between layers to achieve a flat finish. This technique prevents visible seams or bumps.
Corner Bead Repair
Metal or vinyl corner beads protect drywall edges and create clean, straight corners. When damaged, these protective strips can separate from the wall or dent.
Replace damaged sections by:
- Removing loose material
- Cutting new corner bead to size
- Securing with drywall screws
- Applying joint compound in layers
- Sanding for a smooth transition
Joint Repair Techniques
Tape joints require precise repair methods to prevent future cracking. Your contractor will remove loose or damaged tape before starting repairs.
The repair process includes:
- Cleaning the joint area
- Applying new paper or mesh tape
- Using setting-type compound for initial coat
- Adding finishing layers of all-purpose compound
Proper feathering techniques spread joint compound up to 12 inches on each side of the repair, creating an invisible transition to existing walls.
Expert Drywall Installation
Professional drywall installation requires precise measurements, proper materials, and skilled techniques to create smooth, durable walls that meet building codes. Quality installation provides superior soundproofing, fire resistance, and thermal efficiency. Dewey-Humboldt's elevation of 4,500 feet and proximity to Prescott National Forest creates specific building requirements for fire-resistant materials, particularly important given the area's wildfire risk during the dry season from April through June.
Residential Drywall Installation
Your drywall installation begins with selecting the right thickness and type of sheetrock for each area. Use 1/2-inch panels for walls and 5/8-inch fire-resistant panels for ceilings and garage walls. Given Dewey-Humboldt's designation as a Wildland-Urban Interface (WUI) community, many local building codes require enhanced fire-resistant drywall installation, particularly on exterior-facing walls.
Proper framing inspection ensures studs are straight and properly spaced at 16 or 24 inches on center. This spacing supports panel edges and prevents future sagging.
Start installation from the ceiling down, using a lift for overhead work. Secure panels with drywall screws every 12 inches along studs and joists.
Cut panels precisely around electrical boxes, windows, and doors using a utility knife or drywall saw. Leave a 1/4-inch gap at floor level to prevent moisture wicking.
Soundproofing and Insulation Considerations
Choose specialty soundproof drywall with multiple layers or enhanced density for media rooms and bedrooms. These panels can reduce sound transmission by up to 90% compared to standard drywall.
Install insulation between studs before hanging drywall. R-13 to R-19 rated materials provide optimal thermal performance for exterior walls. Due to Dewey-Humboldt's high desert climate with temperature variations of over 60°F between summer and winter, proper insulation is crucial for energy efficiency, with many residents reporting 15-20% energy savings with upgraded wall insulation.
Use acoustic sealant around electrical boxes and panel edges to minimize sound transfer. This creates an airtight barrier that enhances soundproofing effectiveness.
Double-layer installation with staggered seams offers maximum sound reduction. Offset the second layer by 24 inches to prevent sound bridges through joints.
Professional Drywall Finishing
Professional drywall finishing transforms raw sheetrock into smooth, paint-ready surfaces through precise techniques and careful attention to detail. Expert finishing requires specialized tools, proper preparation, and methodical application of joint compound. In Dewey-Humboldt's arid environment with average humidity of just 35%, contractors must work quickly as joint compounds can dry too rapidly, potentially causing cracking or poor adhesion.
Surface Preparation for Finishing
Start by inspecting the drywall installation for protruding screws, gaps, and uneven joints. Use a screwdriver to recess any proud fasteners slightly below the surface.
Clean the entire wall surface with a dry cloth to remove dust and debris. This ensures proper compound adhesion. Dewey-Humboldt's location in the high desert means dust accumulation is a constant challenge, requiring extra attention to surface cleaning before finishing work begins.
Sand any rough spots or irregularities with 150-grit sandpaper. Focus on seams, corners, and areas around electrical boxes.
Essential prep tools:
- Utility knife
- Putty knife
- Sanding block
- Shop vacuum
- Safety glasses and dust mask
Mudding and Taping Methods
Apply paper or mesh tape to all seams using a 4-inch knife and premixed joint compound. Press firmly to eliminate air bubbles.
For the first coat, spread a thin layer of compound over the tape using a 6-inch knife. Allow 24 hours to dry completely.
Apply a second coat with an 8-inch knife, feathering the edges to blend with the surrounding surface. Let dry thoroughly.
Joint compound application tips:
- Work in small sections
- Keep tools clean
- Maintain consistent pressure
- Apply thin, even layers
Achieving a Flawless Finish
Sand between coats using 150-grit sandpaper, then clean surfaces thoroughly. Apply a final skim coat with a 12-inch knife.
Use a halogen work light at an angle to spot imperfections. Mark problem areas with a pencil for touch-ups.
For optimal results, maintain room temperature between 55-70°F during finishing. This temperature range aligns perfectly with Dewey-Humboldt's mild spring and fall seasons (March-May and September-November), making these the ideal times for interior finishing work. Proper ventilation helps reduce drying time.
Test the surface smoothness by running your hand across finished areas. Address any rough spots or ridges with light sanding.